阿里云提供了短信服务,可以使用该服务实现短信验证码功能。我们选择的是阿里云的短信服务实现云商城中的短信验证功能。
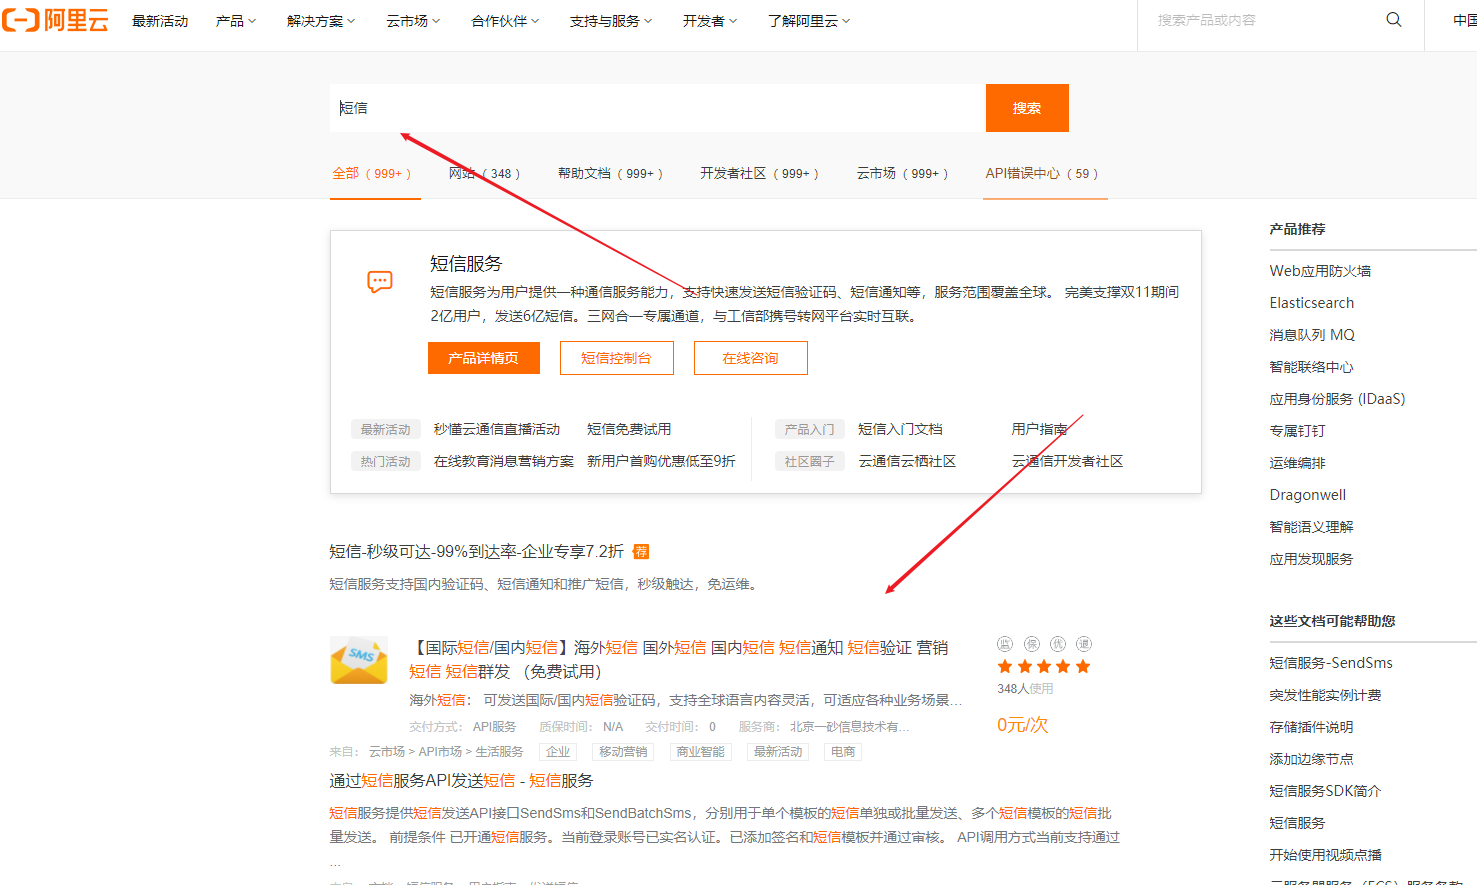
开通阿里云短信服务
选择某个短信服务进行开通
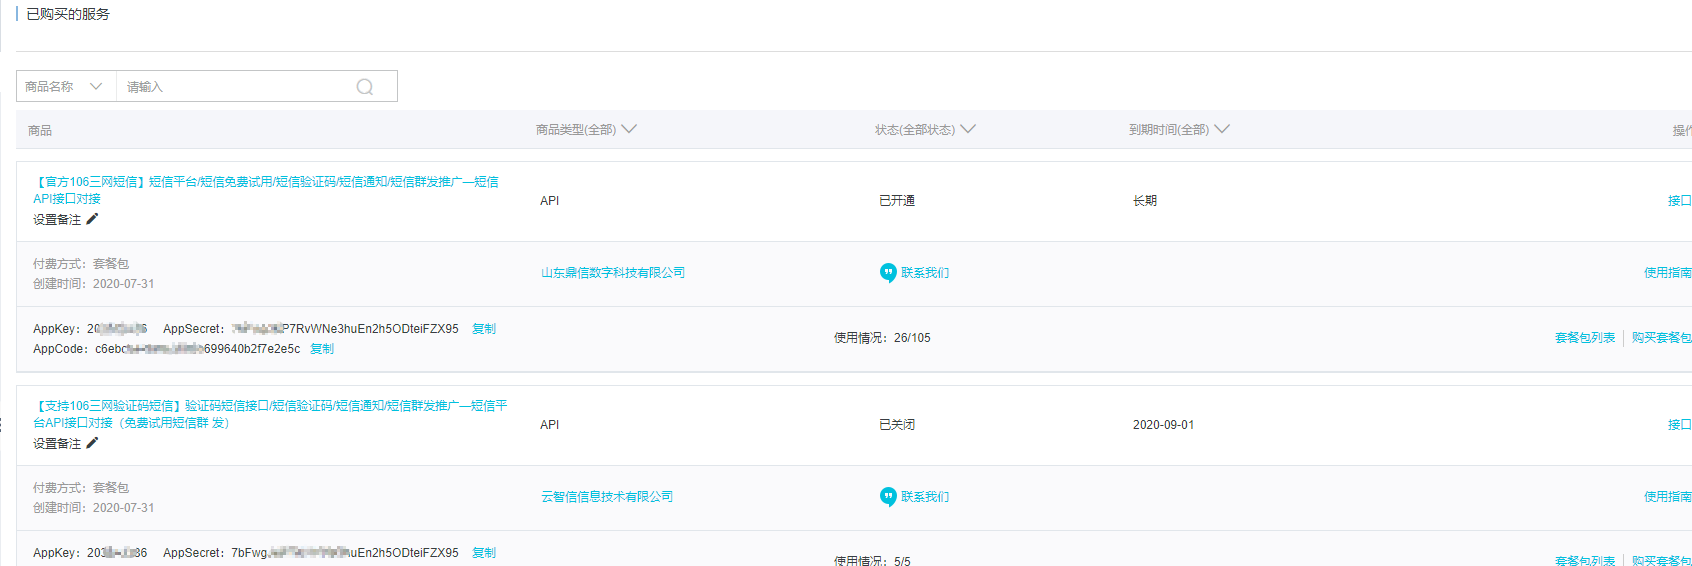
在云市场就能看到购买的服务
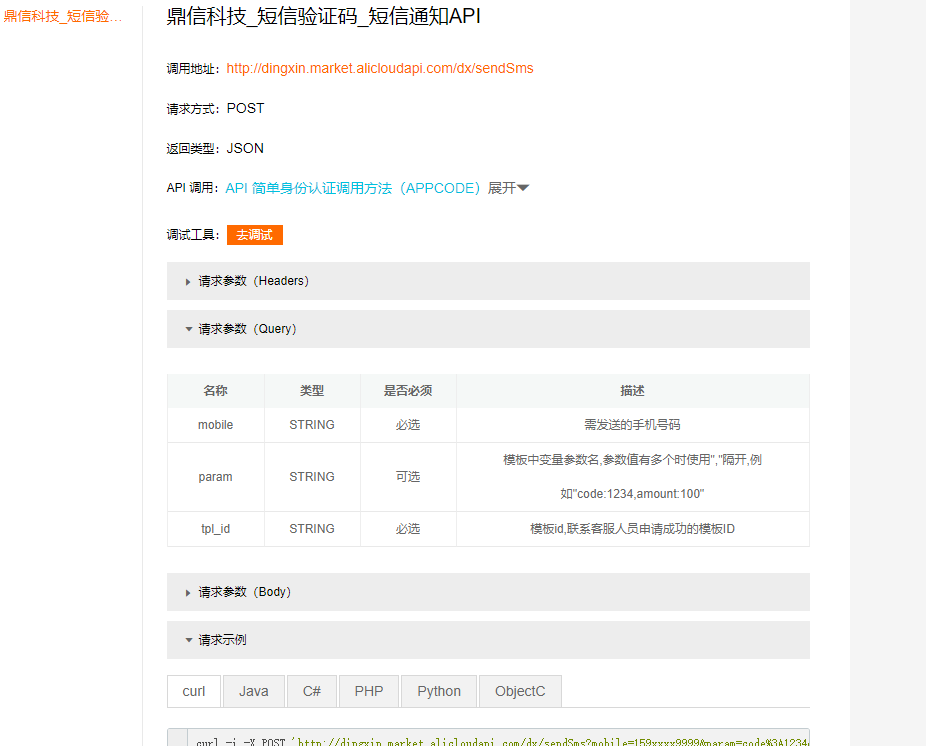
验证短信是否能发送
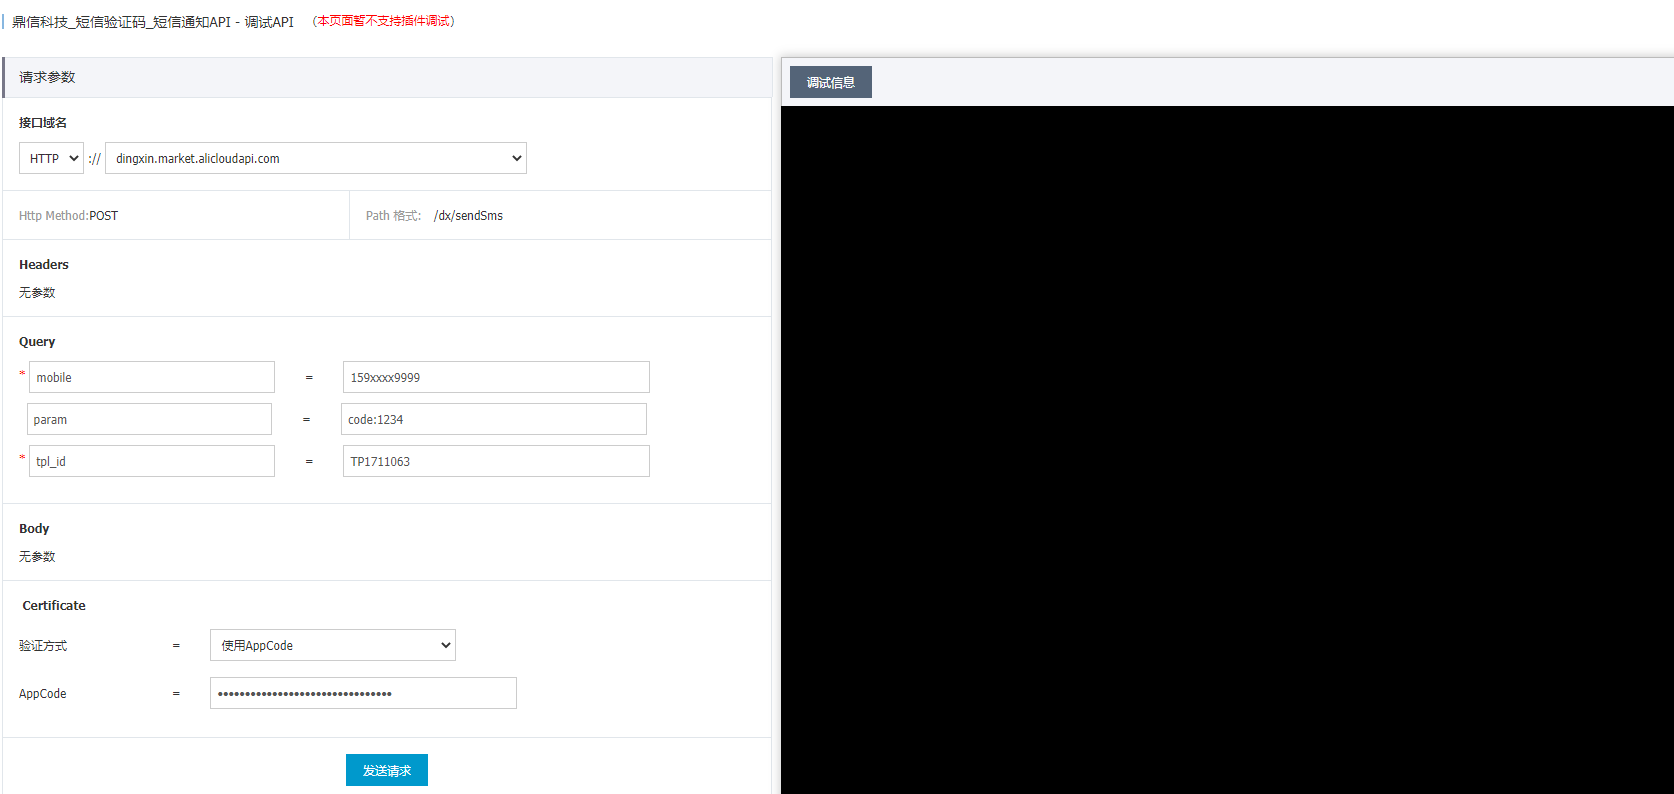
在购买短信的页面,能进行短信调试
输入对应手机号即可发送短信
在 Java 中使用短信服务
模板
不同的服务商提供的接口地址,请求参数都不相同,具体请参考服务商提供的测试代码:
1
2
3
4
5
6
7
8
9
10
11
12
13
14
15
16
17
18
19
20
21
22
23
24
25
26
27
28
29
30
31
32
33
34
35
| public static void main(String[] args) {
String host = "https://dfsns.market.alicloudapi.com";
String path = "/data/send_sms";
String method = "POST";
String appcode = "你自己的AppCode";
Map<String, String> headers = new HashMap<String, String>();
headers.put("Authorization", "APPCODE " + appcode);
headers.put("Content-Type", "application/x-www-form-urlencoded; charset=UTF-8");
Map<String, String> querys = new HashMap<String, String>();
Map<String, String> bodys = new HashMap<String, String>();
bodys.put("content", "code:1234");
bodys.put("phone_number", "156*****140");
bodys.put("template_id", "TPL_0000");
try {
HttpResponse response = HttpUtils.doPost(host, path, method, headers, querys, bodys);
System.out.println(response.toString());
} catch (Exception e) {
e.printStackTrace();
}
}
|
发送请求需要使用阿里云提供的工具类 HttpUtils。按照注释中的提示进行下载并配置到项目中即可使用。
实战使用
在自己项目中使用短信服务时,首先将上述模板方法抽取到一个类中,并将其注入到 Spring 容器中:
1
2
3
4
5
6
7
8
9
10
11
12
13
14
15
16
17
18
19
20
21
22
23
24
25
26
27
28
29
30
31
32
33
34
| @Data
@ConfigurationProperties(prefix = "spring.cloud.alicloud.sms")
@Component
public class SmsComponent {
private String host;
private String path;
private String appcode;
public void sendCode(String phone, String code) {
String host = this.host;
String path = this.path;
String method = "POST";
String appcode = this.appcode;
Map<String, String> headers = new HashMap<String, String>();
headers.put("Authorization", "APPCODE " + appcode);
headers.put("Content-Type", "application/x-www-form-urlencoded; charset=UTF-8");
Map<String, String> querys = new HashMap<String, String>();
Map<String, String> bodys = new HashMap<String, String>();
bodys.put("content", "code:" + code);
bodys.put("phone_number", phone);
bodys.put("template_id", "TPL_0000");
try {
HttpResponse response = HttpUtils.doPost(host, path, method, headers, querys, bodys);
System.out.println(response.toString());
} catch (Exception e) {
e.printStackTrace();
}
}
}
|
该类中的host 等属性需要从配置文件中读取,因此需要使用 @ConfigurationProperties(prefix = "spring.cloud.alicloud.sms") 绑定配置文件中的前缀,并在配置文件中配置自己供应商提供的信息:
1
2
3
4
5
6
| spring:
alicloud:
sms:
host: https://dfsns.market.alicloudapi.com
path: /data/send_sms
appcode: 37023c3c2391xxxxxxxx97a492a180
|
之后就可以注入该组件后直接进行调用:
1
2
3
4
5
6
7
8
9
10
11
12
13
14
15
16
17
| @Autowired
private SmsComponent smsComponent;
@ResponseBody
@GetMapping(value = "/sendCode")
public R sendCode(@RequestParam("phone") String phone, @RequestParam("code") String code) {
smsComponent.sendCode(phone, code);
return R.ok();
}
|